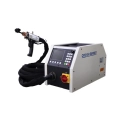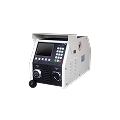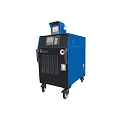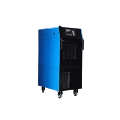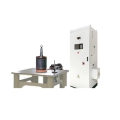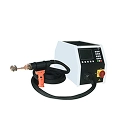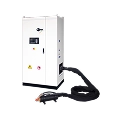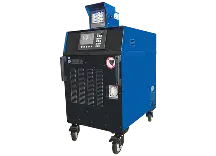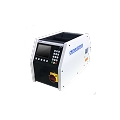





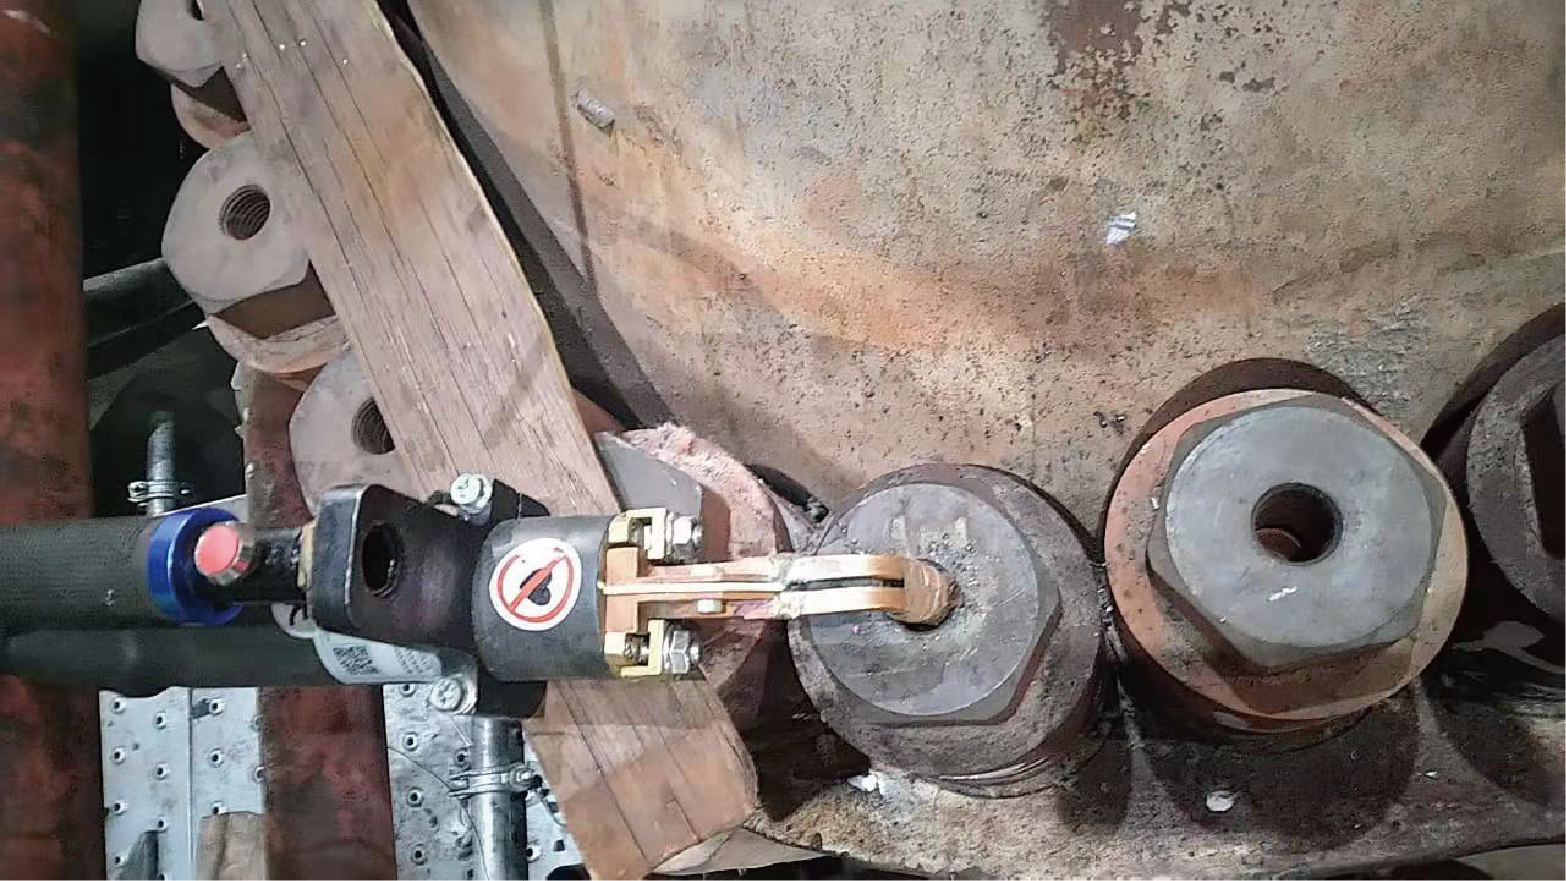
You want to remove tough bolts during automotive repairs. An induction bolt heater helps you do this safely and quickly. Induction technology heats metal fast without open flames. You should look for an induction heater that fits your needs and has the right coil options. Canroon makes reliable induction heater tools for many jobs. You can trust this heater for both simple and complex tasks.
Key Takeaways
- Induction bolt heaters help remove stuck bolts fast and safe. They do not use open flames, so they are a good choice for car repairs.
- Pick an induction heater with the right coil choices. Make sure it has safety features like fan cooling. This helps it work well and keeps you safe.
- Use short heating times of 5 to 15 seconds. This stops the tool from getting too hot. It also helps you loosen bolts better.
- Check your induction heating coils often. Keep them in good shape. This makes your tool last longer.
- Pick the right induction heater for your job. Use a portable one for quick fixes. Use a stationary one if you need more power. Match the heater to your workspace and repair needs.
What Is an Induction Bolt Heater?
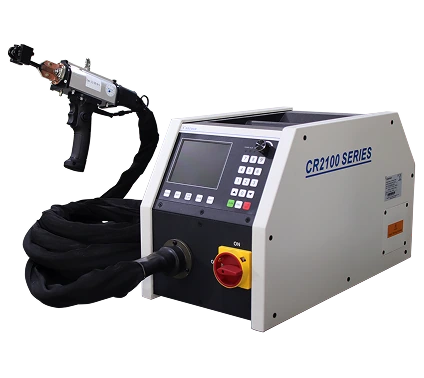
Induction Technology in Automotive Repair
An induction bolt heater helps you take out stuck bolts in cars and trucks. It uses induction heating, which works with coils that make a magnetic field. This field goes through metal bolts and nuts and heats them up fast. You do not have to touch the bolt. The coils wrap around the bolt or nut and send energy right where you need it.
Induction heating technology makes eddy currents inside metal parts. This causes focused heating without touching the bolt. It is great for heating rusty or stuck bolts quickly. The heat makes the bolt expand and break the rust, so you can remove it more easily.
Induction heating uses an electromagnet and an electronic oscillator. The coils send high-frequency current into the metal. The bolt gets hot because of resistance inside the metal. You can use induction heating for many jobs, like loosening rusty bolts or nuts and warming parts before putting them together. The coils come in different shapes and sizes for different jobs. You pick the coil that fits your job to get the best results.
The main idea is to put heat right on the nut. When the nut gets hot, it expands and breaks the rust or glue. This makes it easier to unscrew the nut from the bolt.
Advantages Over Traditional Methods
Induction bolt heaters are better than torches or tools with flames. They are safer, faster, and more accurate. The coils put heat only on the bolt or nut, so other parts do not get damaged.
| Advantage | Индукционный нагрев | Traditional Torch |
|---|---|---|
| Safety | No open flame, less fire danger | Open flame, more fire danger |
| Precision | Heat goes just where you want | Heat can spread to other parts |
| Thermal Impact | Little effect on nearby parts | Can hurt parts close by |
| Reliability | Works the same every time | Heating can change each time |
| Time Efficiency | You do not need to take apart much | You may need to remove more parts |
Induction heating saves time. You can heat big bolts in just a few minutes. You do not waste energy or overheat other parts. The coils make the job easy and reliable. You stay safe and keep your workspace clean because there are no flames, soot, or smoke. This lowers the chance of fire and keeps your area neat. You can use induction bolt heaters for many jobs, like fixing and taking care of cars and trucks.
Choosing the Right Induction Bolt Heater
Key Features and Power Options
You want your induction bolt heater to work well. Look for features that make your job safer and easier. A good induction heater uses electromagnetic fields to heat bolts fast. This helps you spend less time waiting. Some heaters have LED lights. These lights help you see bolts in dark places. You can use these tools for many jobs. They work on stuck hardware, bearings, gears, pulleys, and lug nuts.
Tip: Pick a heater with fan cooling and thermal protection. These features keep the tool safe and protect heat-sensitive parts.
Here are some important features to look for:
- Heats up fast and works well
- LED lights help you see better
- Can be used for many car jobs
- Has safety features like fan cooling and thermal protection
Think about power options too. Most portable heaters use 110V or 220V outlets. More power means faster heating. Make sure the power matches your workshop’s outlets.
| Feature | Индукционный нагрев | Traditional Heating |
|---|---|---|
| Efficiency | High (up to 90%) | Moderate to low |
| Safety | Flameless | Open flame, high risk |
| Heat Transfer | Internal, precise | External, uncontrolled |
| Environmental | No emissions | Fossil fuel combustion |
| Speed | Instant heating | Slow ramp-up |
Induction Heating Coils and Compatibility
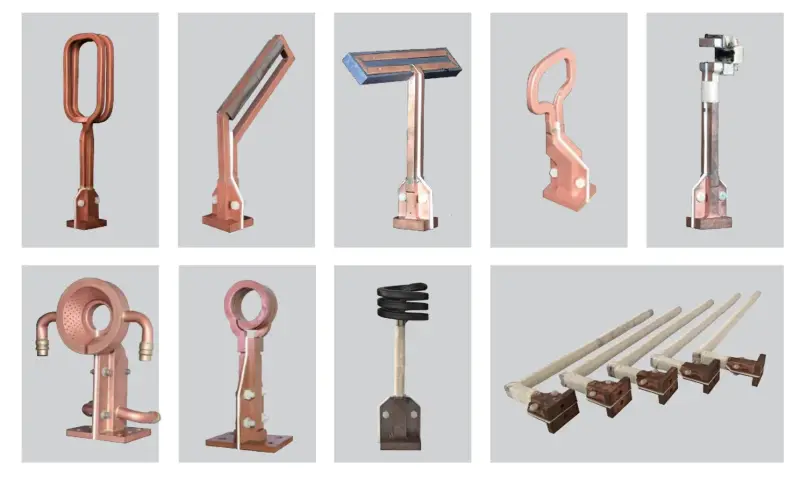
Coils are very important for your induction heater. You need the right coil for each job. Some coils wrap around bolts. Others fit inside nuts. Check if your heater comes with different coil shapes and sizes. This gives you more ways to use your tool.
Make sure the coils work with your heater. Some brands use special connectors. Always read the manual before buying new coils. Using the wrong coil can hurt the tool or make it work badly.
Note: Use coils that fit the bolt or nut size. This gives you better heating and makes the job easier.
With the right coils, you can do many jobs. You can remove rusty bolts, heat bearings, or loosen pulleys. The right coil makes each job safer and faster.
Types: Portable vs. Stationary
You can pick a portable or stationary induction heater. Portable heaters are small and easy to carry. They are good for quick repairs or tight spaces. These tools have less power but are great for fast jobs.
Stationary heaters stay on a bench or cart. They have more power and better temperature control. You can use them for long or tough jobs. These heaters need their own space and a strong power outlet.
| Type | Pros | Cons |
|---|---|---|
| Portable Handheld Units | Easy to move, good for emergencies | Lower power, shorter duty cycle |
| Benchtop/Stationary Models | More power, better control, longer operation | Not mobile, need more space and wiring |
Pick the type that fits your workspace and the jobs you do most.
Top Brands: Canroon and Others
There are many brands of induction bolt heaters. Canroon is a trusted brand. Their tools are strong and safe. You can find models with different power and coil choices. Canroon heaters are good for both home and shop use.
Venom Miniductor is another good choice. It is small and easy to carry. You can take it anywhere, but it has less power. Solary makes both portable and stationary heaters. Their tools work well and have many coil options.
Here is a quick comparison:
| Brand | Strengths | Weaknesses |
|---|---|---|
| Canroon | Reliable, safe, many coil options | Higher price for pro models |
| Venom Miniductor | Very portable, easy to use | Lower power, fewer features |
| Solary | Many models, good value | Some models need more space |
Think about your budget and what you need. A higher price can mean better tools and more features. If you only do simple jobs, a basic heater may be enough. For tough jobs, get a tool with more power and coil choices.
Remember: The right induction heater saves time, keeps you safe, and makes your work easier.
How to Install Induction Heating Coils
Step-by-Step Installation Guide
You can install induction heating coils on your bolt heater by following a few simple steps. This process keeps your tool safe and helps you get the best results. Always start with safety. Wear safety glasses before you begin. Make sure the induction heater is turned off and unplugged. This prevents accidents during installation.
- Choose a coil that fits around the bolt or nut. Leave a small gap between the coil and the part you want to heat.
- Access the coil ports on your induction heater. For some models, turn the twist-lock to the unlocked position.
- Insert the coil fully into the designated ports.
- Lock the coil in place. Make sure it is secure and does not move.
- Check that the coil does not touch the bolt or nut. This helps with safe and effective heating.
- Plug in the induction heater and get ready for use.
Tip: Never operate the unit unless the coil is securely locked in place. This protects both you and your tool.
When you finish the installation, apply heat for 5 to 15 seconds. Check if the bolt has loosened. If not, repeat the process. Always follow these steps to install induction heating coils safely.
Coil Size Selection for Automotive Bolts
Selecting the right coil styles and sizes makes a big difference in heating performance. You need to match the coil size to the bolt you want to remove. A coil that is too large or too small will not heat the bolt evenly. The effectiveness of induction heating depends on the coil’s size, the frequency, and the current density. Thicker bolts may need more power and shorter heating times. Thinner bolts heat up faster with less power.
The shape and thickness of the bolt also affect how well the coil works. Higher frequencies use less current for the same power, which changes how the bolt heats up. Always pick a coil that fits closely but does not touch the bolt. This gives you fast, even heating and makes your job easier.
Note: Using the right coil size helps you save time and energy during installation and heating.
You can find many coil styles and sizes for different automotive jobs. Try different coils to see which one works best for your needs.
Using an Induction Bolt Heater Safely
Step-by-Step Usage Instructions
You want to get the best results from your induction heater. Start by preparing your workspace. Clear away any flammable materials. Make sure you have good lighting. Wear safety glasses and gloves to protect yourself from heat and sparks.
Follow these steps for proper usage:
- Inspect the induction heating coils for any signs of damage. Replace coils if you see cracks or fraying.
- Select the right coil for the bolt or nut. The coil should fit closely but not touch the metal.
- Attach the coil to the heater. Make sure it locks in place and does not move.
- Plug the heater into a working outlet. Check that the power cord is not damaged.
- Place the coil around the bolt or nut. Keep a small gap between the coil and the metal.
- Turn on the induction heater. Use short heating cycles of 5 to 15 seconds. This helps you avoid overheating and damage.
- After each cycle, test the bolt with a wrench. If it does not move, repeat the heating process.
- When the bolt loosens, turn off the heater and unplug it. Let the coil cool before touching it.
Tip: Always use short heating cycles to maximize efficiency and prevent damage to nearby parts.
Safety Precautions and Best Practices
You must follow safety rules every time you use induction heating tools. These best practices keep you safe and protect your equipment from damage.
- Plan your work before you start. Make a checklist of tools and safety gear.
- Never use unsafe heating methods like torches or oil baths. Induction heaters reduce the risk of burns and fire.
- Inspect all electrical parts for faults. Replace damaged cords or plugs right away.
- Use ultrasound tools to check for leaks in the area before you begin heating.
- Keep a fire extinguisher nearby in case of emergency.
- Do not touch the coil or bolt during or right after heating. They can cause burns.
- Make sure the fan in your heater works. Good airflow prevents overheating and damage.
- Store your induction heating coils in a dry, safe place when not in use.
Note: Following these best practices helps you avoid common mistakes and keeps your results consistent.
You should always check the condition of your coils before each use. Damaged coils can cause poor results and may lead to equipment failure. Use only coils that match your heater model. This ensures proper usage and prevents damage.
Troubleshooting Common Issues
Sometimes, you may face problems with your induction heater during usage. You can solve many issues by following these steps:
- Check if the bolt or nut is made of ferrous metal. Use a magnet to see if it sticks. Induction heating works only on ferrous metals.
- Test the outlet by plugging in another device. If it does not work, try a different outlet.
- Use the correct extension cord. For best results, use a 12-gauge cord up to 50 feet or a 14-gauge cord up to 25 feet.
- If the heater does not turn on, it may have overheated. Unplug it and let it cool before trying again.
- Listen for unusual noises. If you hear a popping sound, stop using the heater and send it for repair.
- Check if the fan runs when the heater is on. If not, get the heater repaired.
- Inspect the coils for brittleness or fraying. Replace them if needed to avoid damage.
- If you see melting at the base of the coil, make sure the thumbscrews are tight for good contact.
Callout: Regular maintenance and following best practices will help you avoid most problems and extend the life of your induction heating tools.
You can achieve safe and effective results by following these steps. Always focus on proper usage and safety to protect yourself and your equipment.
Replace Induction Heating Coils and Maintenance
When to Replace Induction Heating Coils
You need to check your induction heating coils often. Look for signs of wear before every application. If you see cracks, fraying, or melted spots, you should replace induction heating coils right away. These signs of wear can cause poor heating and even damage your induction heater. You may also notice that the coil does not heat as quickly as before. This means the coil needs replacement. Always use the right coil for your application to keep your heater working well.
If you ignore signs of wear, you risk damaging your induction heater. Regular replacement keeps your tool safe and ready for every application.
Cleaning and Storage Tips
Proper coil care helps you get the most out of your induction heating coils. Clean your coils with mild soap and a plastic brush. This removes dirt and keeps the coil surface smooth for better heating. Do not use metal brushes because they can scratch the coils. Dry the coils before you store them. Store your induction heating coils in a dry place away from moisture and dust.
- Check your coils for cracks or other signs of wear every day.
- Clean the coils weekly to prevent buildup.
- Keep your induction heater and coils away from chemicals.
- Inspect the power supply and connections during each application.
Routine cleaning and storage help prevent damage and extend the life of your induction heater.
Maximizing Tool Longevity
You can make your induction heater last longer with regular maintenance. Always check for signs of wear before each application. Use proper water cooling if your heater needs it. Keep the cooling water below 70°F to protect the heating coils. Clean filters and quenches to stop dirt from building up. This keeps your induction heating coils working well.
Contamination is the most common cause of coil failure. Low water flow can cause steam vapor lock and damage the coil. You cannot fix a coil with a rupture. You must get a replacement.
Set a schedule for maintenance. Clean your induction heating coils with soap and water. Use flow indicators to check for low water flow. These steps help you avoid costly repairs and keep your induction heater ready for any application.
You should pick an induction bolt heater that fits your needs. Check the power and make sure the coils work with your heater. Choose coils that match the bolts you want to heat. Install the coils carefully so they stay safe. Use short heating times to get good results. Safety is very important. Keep your coils working well by using water cooling under 70°F. Use filters and flow indicators to help your heater last longer. Canroon makes strong induction tools for many jobs. If you follow these steps, you can work safely and feel confident. 🚗🔧
Часто задаваемые вопросы
What is an induction bolt heater used for?
You use an induction bolt heater to remove stuck or rusted bolts. The induction process heats the metal quickly. This makes the bolt expand and break loose. You do not need open flames.
Can you use induction heating on all bolts?
You can use induction heating on bolts made from ferrous metals. These metals include steel and iron. Induction does not work on aluminum or stainless steel bolts. Always check the bolt material before you start.
How long does it take for induction to heat a bolt?
Induction heats a bolt in 5 to 15 seconds. The exact time depends on the bolt size and the induction coil you use. You should use short bursts to avoid overheating the bolt or nearby parts.
Is induction heating safe for car repairs?
Induction heating is safe for car repairs when you follow safety steps. You do not use open flames. The induction coil focuses heat only on the bolt. This keeps other car parts safe from damage.
How do you choose the right induction coil?
You choose the right induction coil by matching its size and shape to the bolt. A close fit gives you better heating. Induction coils come in many shapes for different automotive tasks.